
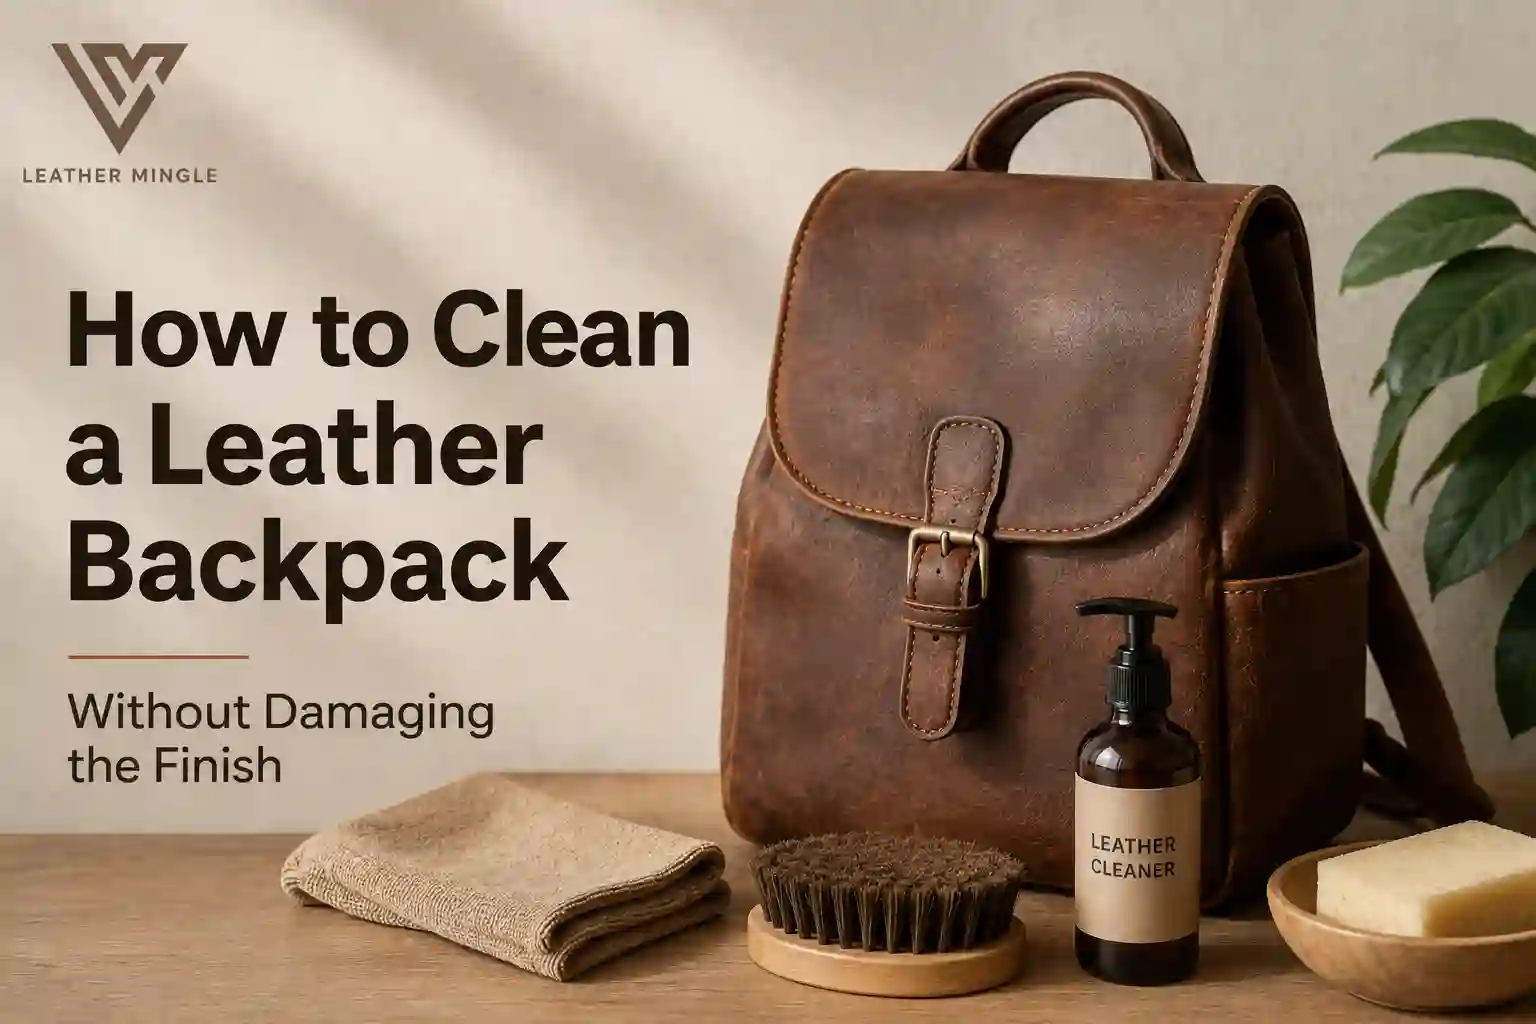
How to Clean a Leather Backpack Without Damaging the Finish
A leather backpack is one of those investments that only gets better with age if you take care of it. Unlike canvas or nylon bags that you can toss in the wash without a second thought, leather is a natural material that reacts to water, heat, sunlight, and the wrong cleaning products in ways that can permanently change how it looks and feels. Clean it the right way, and your bag develops a rich patina that makes it more attractive every year. Clean it the wrong way, and you risk cracking, discoloration, stiffness, or a finish that peels and flakes.
This guide walks through exactly how to clean a leather backpack without damaging the finish, covering everyday maintenance, deep cleaning, stain removal, conditioning, and the mistakes that ruin leather bags the fastest. Whether you’re caring for a full-grain leather backpack, a top-grain leather backpack, or a treated leather backpack with a protective coating, the principles below will help you keep it looking as good as the day you bought it.
Why Leather Backpack Cleaning Requires a Different Approach
Leather is skin tanned, treated and finished, but still an organic material with natural oils and fibers. Those oils keep the leather supple and prevent it from drying out and cracking. Most commercial cleaning products, including dish soap, all-purpose cleaners, and baby wipes, are formulated to strip oils and grease. On a countertop, that’s exactly what you want. On a leather backpack, that’s how you end up with a bag that looks dull, feels stiff, and eventually splits at the seams and stress points.
There’s also the question of finish type. Leather backpacks generally fall into a few categories:
- Full-grain leather: The outermost layer of the hide, with the natural grain intact. Highly durable, develops a beautiful patina, but more porous and prone to absorbing liquids and stains.
- Top-grain leather: Sanded and refinished, slightly more uniform and often coated with a protective layer.
- Suede and nubuck: The underside of the hide, brushed to a soft nap. Requires completely different care than smooth leather (dry cleaning methods, specialty erasers, no water).
- Faux or vegan leather (PU/PVC): Not leather at all, but a plastic coating. Can typically handle a damp cloth and mild soap without the same risk of drying out.
Knowing which type of leather your backpack is made from matters because a cleaning method that’s safe on full-grain leather can ruin suede, and a method that works fine on faux leather can be too harsh for natural leather. If you’re not sure what your bag is made of, check the manufacturer’s care tag, the product description from where you bought it, or do a small spot test in an inconspicuous area (like the bottom or an interior strap) before cleaning the whole bag.
What You’ll Need
Before you start, gather supplies that are gentle and purpose-built for leather. Using the right tools is just as important as using the right technique.
- Soft, lint-free microfiber cloths (at least two one for cleaning, one for buffing)
- A soft-bristled brush (a horsehair brush or a clean, soft toothbrush for tight seams and zippers)
- Distilled water (tap water can leave mineral spots on leather)
- A pH-balanced leather cleaner (avoid saddle soap on finished or pigmented leather, as it can be too alkaline and strip the finish)
- Leather conditioner made for the specific leather type
- A vacuum with a brush attachment or a soft-bristled dust brush
- Mild, leather-safe stain remover for spot treatment
- Optional: a leather protectant spray with UV protection
Avoid baby wipes, disinfectant wipes, dish soap, laundry detergent, vinegar solutions, alcohol-based cleaners, and bleach. These products are common “quick fix” suggestions online, but they’re formulated for other materials and can strip natural oils, discolor dye, or degrade the protective topcoat on your leather backpack.
Step 1: Empty and Dust the Bag
Start by emptying every pocket and turning the bag over to shake out crumbs, dust, and debris. Leather backpacks accumulate grit in seams, zipper tracks, and corners, and if you skip this step, that grit can act like sandpaper once you start wiping the surface, creating tiny scratches in the finish.
Use a vacuum with a soft brush attachment on the lowest suction setting to clean out interior pockets and exterior crevices. For the exterior, use a dry microfiber cloth or a soft brush to gently sweep away surface dust before any liquid touches the leather. This single step prevents a huge percentage of the fine scratching that dulls a leather finish over time.
Step 2: Do a Spot Test
Even if you’ve cleaned leather bags before, every backpack has a slightly different finish, dye lot, and coating. Before applying any cleaner or conditioner to the whole bag, test it on a small, hidden area the underside of a strap, the base of the bag, or an inside flap. Apply a small amount, wait a few minutes, and check for any color transfer, darkening, or texture change. If everything looks normal, you’re clear to proceed on the rest of the bag.
Step 3: Clean With a pH-Balanced Leather Cleaner
Once the bag is dusted off and you’ve confirmed the cleaner is safe on a hidden spot, it’s time for the actual cleaning.
- Dampen (don’t soak) a microfiber cloth with distilled water.
- Apply a small amount of pH-balanced leather cleaner to the cloth, not directly onto the leather.
- Working in small, circular motions, gently clean the surface of the bag section by section.
- Use a separate slightly damp cloth to wipe away any cleaner residue.
- Immediately buff the area dry with a clean, dry microfiber cloth.
The key principle here is moisture control. Leather and standing water are not friends excess moisture can seep into the fibers, cause warping, water spots, or mold if the bag doesn’t dry properly. Always use a barely damp cloth, work in small sections, and dry as you go rather than soaking the whole bag and hoping it dries evenly.
Pay extra attention to high-contact areas like the handle, the front pocket where hands frequently touch, and the bottom corners, since these accumulate the most oil and grime from regular use.
Step 4: Clean Hardware, Zippers, and Straps Separately
Metal hardware, zippers, and buckles need a different approach than the leather panels. Use a soft, dry cloth to wipe down metal hardware, and a barely damp cloth if there’s visible residue or tarnish. Avoid spraying cleaner directly onto zippers, since moisture and cleaning agents can cause them to stick or corrode over time.
For fabric linings inside the bag (many leather backpacks have a canvas or polyester interior), you can typically use a mild fabric cleaner or a vacuum to remove crumbs and dust, but keep any liquid away from the leather-lined seams.
Step 5: Treat Stains Individually
General cleaning removes surface dirt, but stains need targeted treatment. How you treat a stain depends heavily on what caused it.
Water stains and rings: Ironically, one of the most common ways people damage their leather backpack is trying to wipe away a water stain with more water. Instead, dampen the entire panel evenly with a barely damp cloth so the original stain blends in rather than standing out as a ring, then let it air dry naturally, away from direct heat.
Oil and grease stains: Blot (don’t rub) excess oil immediately with a clean, dry cloth. Then sprinkle a small amount of cornstarch or talcum powder directly on the stain, let it sit for several hours (or overnight) to absorb the oil, and brush away gently. Rubbing an oil stain spreads it and pushes it deeper into the leather’s pores.
Ink stains: Ink is one of the trickiest stains to remove without professional help. A cotton swab lightly dampened with isopropyl alcohol can sometimes lift fresh ink, but this must be tested on a hidden area first, since alcohol can strip dye from some finishes. For older or stubborn ink stains, it’s often safer to consult a professional leather cleaner than risk making it worse.
Mold and mildew: If your backpack was stored somewhere damp, you may find small mold spots. Wipe the area with a cloth dampened in a very mild solution of distilled water and a leather-safe antifungal cleaner, then dry the bag thoroughly in a well-ventilated area (not direct sun) to prevent recurrence.
Step 6: Condition the Leather
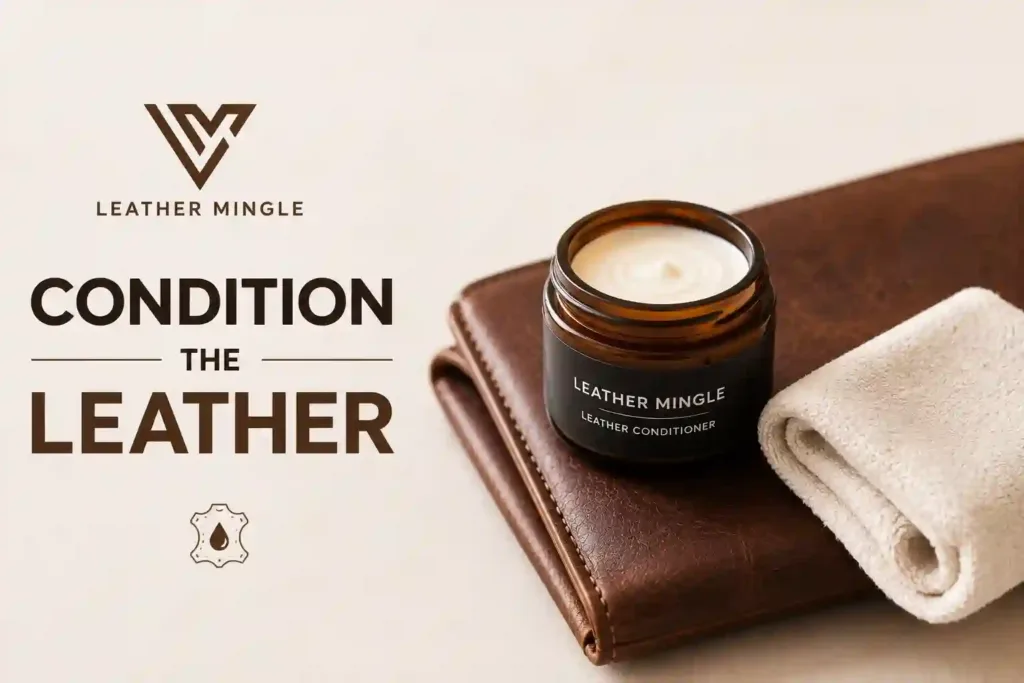
Cleaning removes dirt, but it can also strip some of the leather’s natural oils, which is why conditioning is a non-negotiable step in any leather backpack cleaning routine. Skipping this step is one of the most common reasons a leather finish starts to crack over time.
- Choose a conditioner formulated for your specific leather type (full-grain, top-grain, pigmented, etc.).
- Apply a small amount to a clean, soft cloth.
- Work it into the leather in gentle, circular motions, covering the entire surface evenly, including seams and edges.
- Let the conditioner absorb for the time specified on the product (usually 15–30 minutes).
- Buff away any excess with a dry microfiber cloth.
Conditioning replenishes the oils lost during cleaning and daily wear, keeps the leather flexible, and helps prevent the surface cracking that comes from dryness. Most leather backpacks benefit from conditioning every one to three months, depending on how often you use the bag and the climate you live in drier climates typically require more frequent conditioning.
Step 7: Let It Dry the Right Way
After cleaning and conditioning, resist the urge to speed up drying with a hairdryer, radiator, or direct sunlight. Heat causes leather to dry unevenly, which leads to cracking, stiffness, and warping. Instead:
- Let the bag air dry at room temperature.
- Keep it away from direct sunlight and heating vents.
- Stuff the bag loosely with clean paper (not newspaper, which can transfer ink) to help it hold its shape while drying.
- Allow at least 24 hours before using the bag again or storing it.
How Often Should You Clean a Leather Backpack?
A full cleaning routine, including conditioning, isn’t something your bag needs weekly. Over-cleaning can be just as damaging as under-cleaning, since repeated exposure to cleaners strips natural oils faster than they can regenerate. As a general guideline:
- Dusting and quick wipe-downs: Weekly or after any trip through dusty or wet environments.
- Full cleaning with a leather cleaner: Every one to two months for regular use, or whenever visible dirt builds up.
- Conditioning: Every one to three months, or when the leather starts to look or feel dry.
- Deep stain treatment: As needed, ideally as soon as a stain occurs, since fresh stains are always easier to treat than set-in ones.
Pay attention to your specific bag and environment. A backpack used daily in a humid coastal city will need different care than one used occasionally in a dry inland climate.
Preventing Damage Between Cleanings
The best way to keep a leather backpack looking great is to reduce how often it needs intensive cleaning in the first place. A few habits go a long way:
- Avoid overloading the bag. Excess weight stretches seams and stresses the leather at stress points like straps and handles.
- Keep it away from prolonged direct sunlight, which fades dye and dries out natural oils.
- Store it properly when not in use stuffed lightly to hold its shape, in a breathable dust bag rather than a plastic bag, which can trap moisture and cause mildew.
- Apply a leather protectant spray periodically, especially if you’ll be using the bag outdoors or in unpredictable weather. Look for a protectant that specifically states it’s safe for the type of leather your bag is made from.
- Wipe down the bag after exposure to rain rather than letting it air dry with water still on the surface.
- Rotate bags if you own more than one, giving leather time to rest and reabsorb conditioning between heavy use periods.
Common Mistakes That Damage Leather Backpacks
Even well-intentioned cleaning can go wrong. Here are the mistakes that most commonly damage the finish on a leather backpack:
- Using dish soap or laundry detergent. These are formulated to strip grease and oils exactly what you don’t want on leather.
- Soaking the bag or using too much water. Excess moisture causes warping, discoloration, and can loosen glued seams.
- Skipping the conditioning step. Cleaning without conditioning accelerates drying and cracking.
- Using heat to dry the bag faster. This is one of the fastest ways to cause permanent cracking.
- Rubbing stains instead of blotting. Rubbing spreads the stain and pushes it deeper into the leather’s pores.
- Ignoring the spot test. Skipping this step means you might not discover a cleaner reacts badly with your bag’s dye or finish until it’s already damaged.
- Using saddle soap on finished or pigmented leather. Saddle soap is designed for untreated, natural leather like saddles and boots it’s often too harsh for the thinner, more delicate finish on many leather backpacks.
- Storing the bag in direct sunlight or a plastic bag. Both accelerate fading, drying, and mildew growth respectively.
When to Call a Professional
Some situations call for expert help rather than a DIY approach. If your leather backpack has deep, set-in stains (especially ink or dye transfer from denim), visible mold that keeps returning, cracking that has already started, or a finish that seems to be peeling, a professional leather cleaner or cobbler with leather goods experience can often restore it in ways that home methods can’t. It’s also worth consulting a professional before attempting to clean vintage or high-value designer leather backpacks, where the wrong product could significantly affect resale value.
Final Thoughts
Cleaning a leather backpack without damaging the finish comes down to a few consistent principles: dust before you clean, use pH-balanced products made for leather, keep moisture to a minimum, treat stains promptly and gently, and never skip conditioning. Leather rewards patience a backpack that’s cleaned and conditioned properly will develop a rich patina and stay flexible and strong for years, while one that’s cleaned carelessly will show cracking, dullness, and stiffness far sooner than it should.
Building a simple maintenance routine a quick dust-off weekly, a full clean every couple of months, and conditioning every few months is far easier than trying to repair damage after the fact. With the right approach, your leather backpack can easily become a bag you carry for a decade or more, aging gracefully with every trip it takes.
FAQs
Can I use baby wipes to clean a leather backpack?
No. Most baby wipes contain alcohol and fragrance additives that strip natural oils and can dry out or discolor leather over time. Stick to a pH-balanced leather cleaner instead.
Is it safe to use water on a leather backpack?
Yes, in small amounts. A barely damp microfiber cloth is fine for cleaning, but the bag should never be soaked, and any water stains should be blended out evenly rather than spot-treated with more water.
How do I remove a musty smell from a leather backpack?
Air the bag out in a well-ventilated, shaded area for a day or two. Placing a breathable pouch of baking soda or activated charcoal inside overnight can also help absorb odor without damaging the leather.
Can I machine wash or dry a leather backpack?
Never. Washing machines, dryers, and even hairdryers introduce excessive water, heat, and agitation that will warp, shrink, or crack leather permanently.
What’s the difference between cleaning and conditioning?
Cleaning removes dirt, oil, and grime from the surface. Conditioning replenishes the natural oils lost during cleaning and everyday wear, keeping the leather soft and preventing cracks. Both steps are necessary for proper care.
How often should I condition my leather backpack?
Roughly every one to three months for regular use, though drier climates or heavier use may call for more frequent conditioning.
Can I use olive oil or coconut oil as a leather conditioner?
It’s not recommended. Household oils can go rancid, darken the leather unevenly, and clog its pores, which is worse for the finish than using no conditioner at all. Stick to a conditioner made specifically for leather.
Will cleaning remove scratches from my leather backpack?
Light surface scratches often soften in appearance after conditioning, since the oils help the leather fibers relax. Deeper scratches or gouges typically need professional leather repair.
Is saddle soap good for leather backpacks?
Not usually. Saddle soap is formulated for thick, untreated leather like saddles and boots. On the thinner, finished leather used in most backpacks, it can be too alkaline and strip the protective topcoat.
How do I know what type of leather my backpack is made from?
Check the manufacturer’s care tag or product listing. If you’re unsure, do a small spot test in a hidden area before applying any cleaner, since full-grain, top-grain, suede, and faux leather all require different care methods.


About author




Add comment