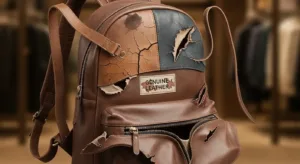
How to Repair Scratches and Scuffs on Leather Goods
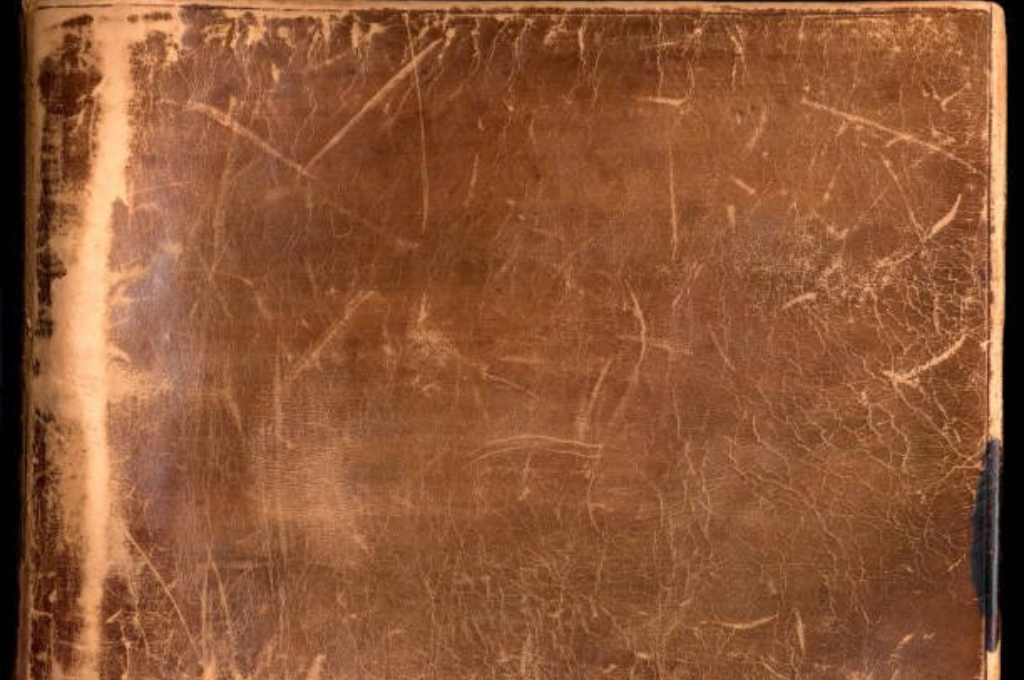
Leather goods, whether it’s your car seats, furniture, or accessories, can look worn out with scuffs and scratches. While these marks can seem daunting, there’s no need to panic. With the right tools and techniques, you can restore your leather to its former glory. This guide will walk you through easy steps to repair scratches and scuffs on leather goods bringing them back to life. No professional help required just a few simple products and a little patience.
Why Leather Repairs Matter
Leather is a durable material, but it’s not immune to damage. Over time, your favorite leather goods—whether a couch or leather handbag—might face scratches, scuffs, or discoloration. Repairing them can help extend their life, maintaining their beauty and value. Here’s why it’s worth investing time in fixing those leather marks:
- Preserve the longevity of leather items.
- Enhance their aesthetic appeal and restore original shine.
- Save money by avoiding expensive professional repairs.
Products You’ll Need for Leather Scratch and Scuff Repair
Before diving into the repair process, gather the essential tools that will make the job easier. Here’s a quick list of what you’ll need to get started:
- Leather repair kit – the primary product to address all damage.
- Leather prep pad – cleans the damaged area.
- 1200 grit sandpaper – smoothens rough patches.
- Heavy filler – fills in scratches and scuff marks.
- Colourant – restores the color to match the original leather.
Having these items will ensure that your leather repair process is efficient and successful.
Step 1: Clean the Leather Surface
The first and most important step is cleaning the leather surface. Dirt or debris can affect the repair process, leaving an uneven finish. Start by using a leather prep pad to wipe down the scratched or scuffed area. This ensures you have a clean surface for the next steps.
- Use circular motions to remove all surface dirt.
- Allow the area to dry naturally for 5-10 minutes.
This preparation will help you achieve a smooth and lasting repair.
Step 2: Sand the Rough Areas
If the leather is rough or uneven where the scuff or scratch is, you’ll need to sand it down. Gently use 1200 grit sandpaper to smooth out the affected area. This step ensures that the repair filler will adhere better, providing a more professional finish.
- Lightly sand the area until it feels smooth.
- Be gentle, as too much pressure can damage the leather further.
Sanding down rough patches ensures a smooth, even repair once the filler is applied.
Step 3: Apply the Leather Filler
Now that the roughness is removed, it’s time to fill in any loss to the leather. Take a small amount of heavy filler and apply it over the scratched or scuffed areas. Use the spatula provided in your leather repair kit to smooth the filler over the damage.
- Apply thin layers of filler for a smoother, more natural finish.
- Allow each layer to dry (about 25-30 minutes).
- Reapply as needed until the surface is level with the surrounding leather.
Building up the filler layer by layer ensures a seamless repair and restores the leather’s integrity.
Step 4: Sand the Filler Smooth
After the filler has dried, it’s important to make sure the surface is smooth and even with the surrounding leather. Use the 1200 grit sandpaper again to sand the filler down until it’s level with the leather surface.
- Sand gently, checking frequently to avoid over-sanding.
- Ensure the area feels smooth to the touch before moving on.
This step is crucial for creating a flawless finish, making the repair nearly invisible.
Step 5: Color Matching and Application
One of the final steps in restoring leather is color matching. Leather repair kits typically include colourant that can be mixed with tints to match your leather’s original shade. Use the included colour matching guide to find the perfect match. Apply a small amount of the colorant to the repaired area, using thin coats for the best result.
- Test the color on an inconspicuous area to ensure it matches.
- Use a hairdryer to speed up drying between coats.
- Apply as many coats as necessary to cover the damage completely.
With the right colorant, your leather will look as good as new, with the repair practically invisible.
Final Touch: Seal the Repair
Once you’ve applied the colorant and it’s fully dry, your leather repair will be scuff and scratch resistant. The built-in sealers in most colourants help protect the surface, ensuring long-lasting results.
- Let the colorant dry completely before using the leather item again.
- Avoid applying excessive force or pressure on the repaired area immediately after.
Summary: Quick and Easy Leather Repair
Repairing scratches and scuffs on leather goods doesn’t have to be a hassle. With the right tools, a little patience, and these simple steps, you can restore your leather items to their original condition. Whether it’s a leather car seat, furniture, or accessories, this process allows you to maintain the beauty of your leather at a fraction of the cost of professional services.
Now that you know how to repair scuffs and scratches, you can easily take care of any damage that comes your way. With proper maintenance, your leather goods will continue to look great for years to come. Happy repairing!


Add comment